
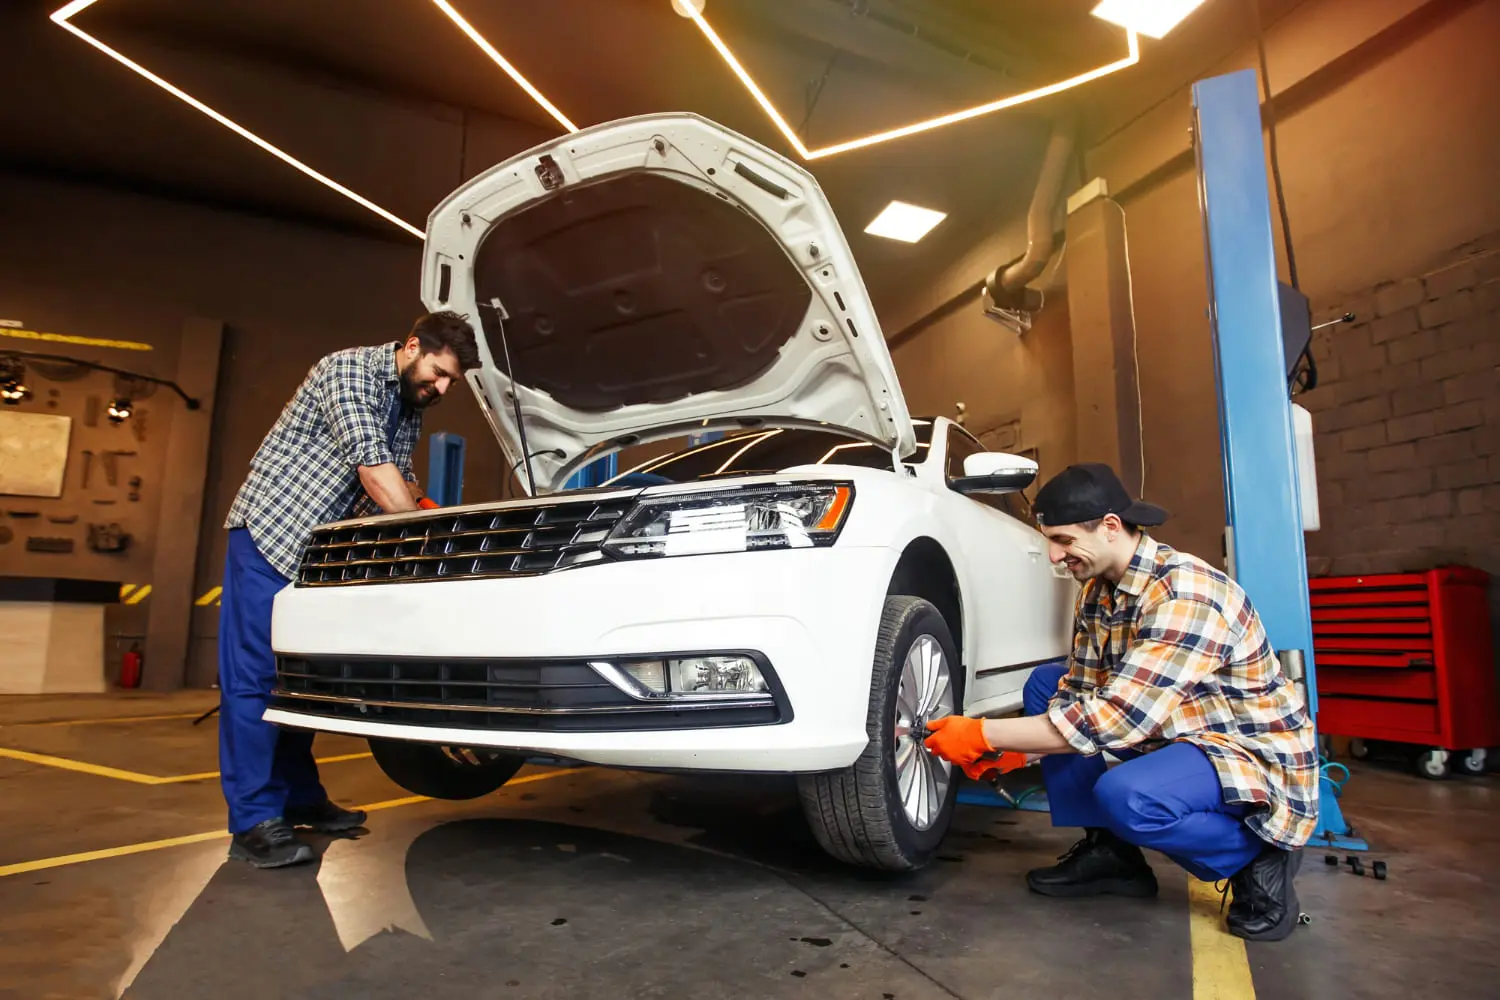
Every driver knows the unique sting that comes with a hefty dealership or mechanic repair invoice. You pull into the service bay for routine maintenance, expecting a modest bill, only to be handed an itemized estimate loaded with steep hourly labor fees, shop supplies, and eye-watering markup on basic parts. In an era where inflation hits our wallets at every turn, keeping your vehicle safe, reliable, and smooth-running shouldn't cost a small fortune. Yet, millions of car owners hand over hundreds of hard-earned dollars every single year for tasks that require zero mechanical experience, no specialized toolbox, and less than fifteen minutes of hands-on effort in their own driveways.
The truth is, modern automobiles are often perceived as overly complicated computers on wheels and while major engine diagnostics or transmission overhauls certainly require certified technicians, routine preventative maintenance remains surprisingly accessible. By learning just a handful of fundamental vehicle care routines, you take immediate control of your auto maintenance budget. You don’t need to spend years apprenticing in a shop or investment thousands in heavy machinery; all you need is a willingness to roll up your sleeves, read your owner's manual, and follow a few straightforward steps.
Beyond the immediate financial benefits, taking on basic car maintenance fosters a deeper sense of confidence and ownership. When you understand what happens under the hood, you are no longer at the mercy of upsells, aggressive service advisors, or unexpected roadside breakdowns. In this practical guide, we will walk you through three incredibly simple, high-reward DIY car maintenance tasks that almost anyone can perform at home. We will break down exactly what you need, provide clear step-by-step instructions, and detail the exact dollar amounts you stand to save by swapping dealer labor rates for a quick afternoon DIY project.
Task 1: Replacing Your Engine & Cabin Air Filters
Your engine and cabin air filters serve as the vital lungs of your vehicle. The engine air filter prevents dirt, debris, dust, and particulate matter from entering your engine cylinders, ensuring clean air mixes with fuel for optimal combustion. Over time, as this filter becomes clogged with road grime, your engine has to work significantly harder to pull in fresh air. This restriction starves the engine, reducing fuel efficiency by up to 10%, causing sluggish acceleration, and placing unnecessary strain on internal components. Meanwhile, your cabin air filter cleans the air blowing through your vehicle’s heating, ventilation, and air conditioning (HVAC) system, trapping pollen, dust, soot, and mold spores before you breathe them in.
Replacing both filters is one of the easiest DIY projects you can tackle typically requiring no specialized tools at all.
Step-by-Step DIY Replacement Guide
- Locate the Engine Air Filter Housing: Open the hood and locate the air filter housing, typically a plastic box connected to the engine's intake duct.
- Open the Housing: Release the clips or remove the appropriate fasteners using the required tool. Carefully lift the housing cover to access the old filter.
- Replace the Engine Air Filter: Remove the old filter and clear any loose debris from the housing, preferably using a vacuum while taking care not to push debris into the intake opening. Install the correct replacement filter, making sure it is properly seated and aligned. Secure the housing cover and fasteners.
- Locate the Cabin Air Filter: Check the owner's manual for the cabin filter location. On many vehicles, it is located behind the glove box. Remove or lower the glove box as required to access the filter compartment.
- Install the New Cabin Air Filter: Open the filter compartment and remove the old filter. Note the airflow direction indicated on the old filter or filter housing, then install the new filter in the same orientation. Secure the filter cover and reinstall any removed panels or the glove box.
Cost Breakdown:
- DIY Cost: Approximately $15–$25 per filter ($30–$50 total), depending on the vehicle and filter brand.
- Professional Service: Approximately $70–$120 total in some cases, including parts and labor, but prices vary by vehicle and service provider.
- Potential Savings: Approximately $20–$90 compared with the stated price ranges. The replacement time can be around 15–30 minutes for many vehicles, but it varies by model.
Task 2: Swapping Out Windshield Wiper Blades
Clear visibility through your front windshield is hands-down one of your vehicle's most critical safety features, yet wiper blades are notoriously overlooked until you find yourself caught in a heavy downpour. Over time, constant exposure to direct sunlight, ultraviolet rays, freezing temperatures, and road grime causes the flexible rubber or silicone edge on your wiper blades to crack, tear, split, and harden. When wipers fail, they leave behind distracting streaks, chatter loudly across the glass, or fail to clear water effectively, drastically reducing your reaction time during inclement weather. Inspecting your wiper blades every few months and replacing them at the first sign of wear ensures you retain maximum visibility in driving conditions.
Swapping out wiper blades takes fewer than five minutes for the pair and requires no hand tools whatsoever.
Step-by-Step DIY Replacement Guide:
- Purchase the Right Blades: Check your vehicle's owner's manual or a vehicle-specific fitment guide for the correct blade lengths and connector type. The driver and passenger blades are often different lengths.
- Protect Your Windshield: Raise the wiper arm carefully according to the vehicle's recommended service procedure. Place a folded towel on the windshield beneath the arm to protect the glass if the spring-loaded arm accidentally drops.
- Release the Old Blade: Identify the blade's connector type and release it according to the manufacturer's instructions. For common J-hook connectors, press the release tab and slide the blade off the hook.
- Attach the New Blade: Install the new blade using the appropriate connector and make sure it locks securely into place. Gently pull on the blade to confirm it is properly attached.
- Lower the Arm: Carefully lower the wiper arm onto the windshield without allowing it to snap against the glass. Repeat the process for the other side.
Cost Breakdown:
- DIY Cost: Approximately $20–$35 for a pair of quality replacement blades, depending on the brand and vehicle.
- Professional/Dealership Cost: Approximately $60–$100 in some cases, depending on blade type, parts pricing, and labor charges.
- Potential Savings: Approximately $25–$80, depending on the actual DIY and professional service prices. Many straightforward replacements can be completed in about 5–15 minutes.
Task 3: Checking and Topping Off Essential Vehicle Fluids
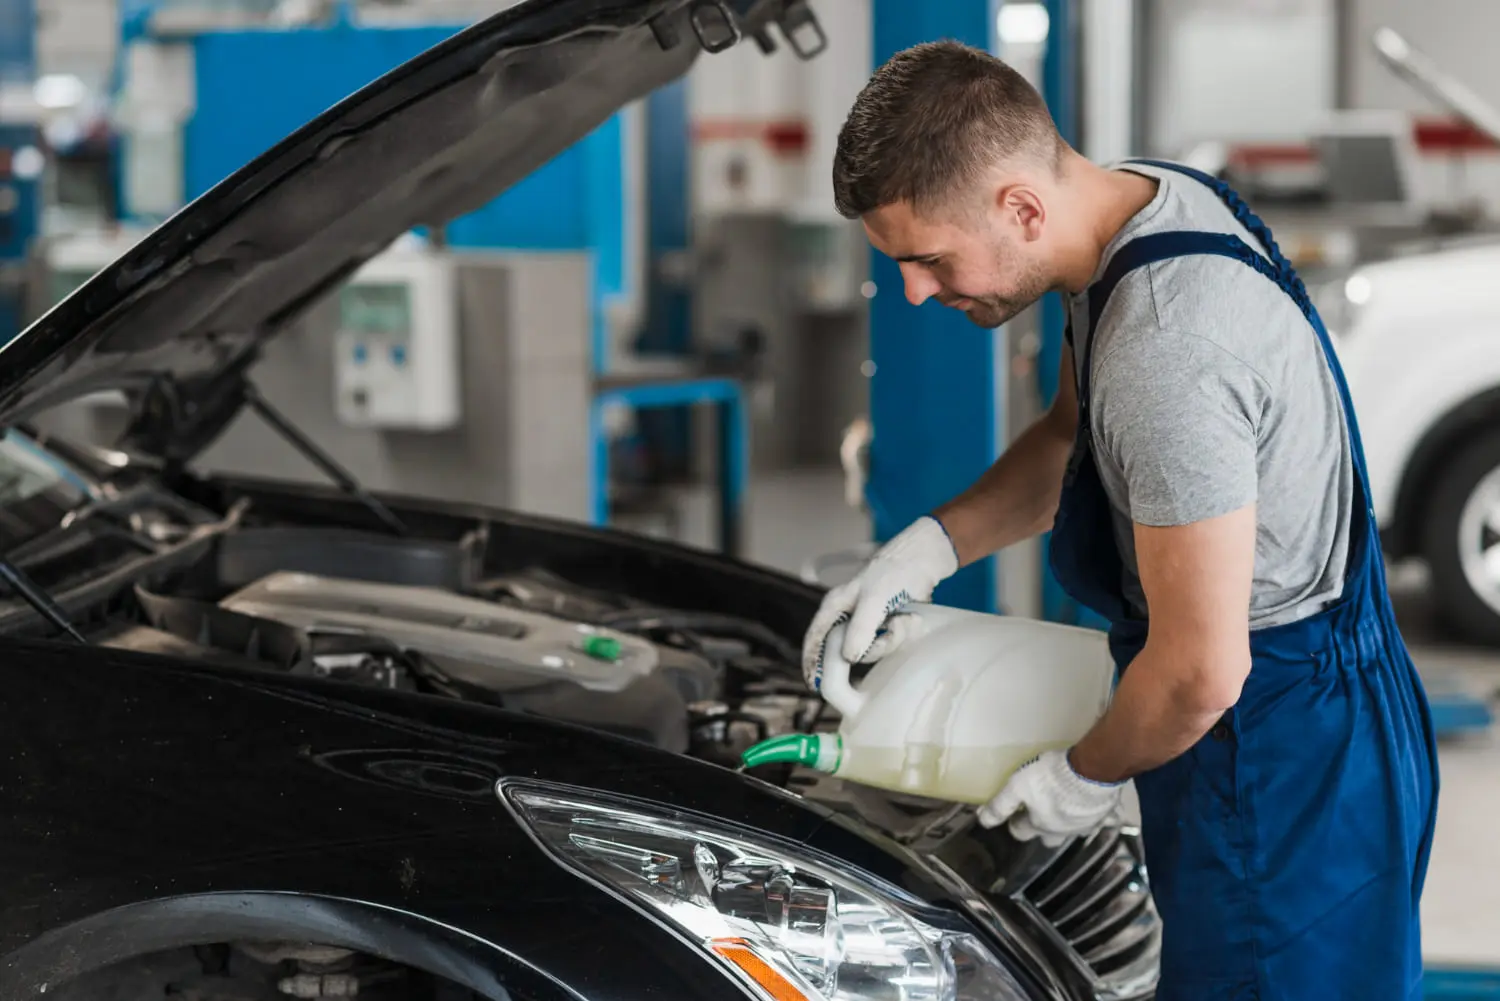
Your vehicle depends on several essential fluids to lubricate moving components, control operating temperatures, maintain visibility, and transmit hydraulic pressure through systems such as the brakes. Low fluid levels can sometimes indicate leaks, excessive wear, or other developing problems. Regular fluid checks can help identify issues early and keep your vehicle operating safely and reliably. Always follow your vehicle owner's manual for the correct fluid type, specifications, and inspection procedures.
Essential Fluids to Check:
- Engine Oil: Lubricates moving engine components, helps remove heat, and reduces friction and wear.
- Engine Coolant (Antifreeze): Helps regulate engine temperature, protects against freezing and boiling, and provides corrosion protection.
- Windshield Washer Fluid: Helps remove dirt, dust, and road debris from the windshield for clear visibility.
- Brake Fluid: Transmits hydraulic pressure through the braking system so the brakes can operate properly.
Step-by-Step DIY Fluid Check and Top-Off Guide:
- Park on Level Ground: Park the vehicle on a level surface, switch off the engine, engage the parking brake, and allow the vehicle to settle before checking fluid levels. Follow the owner's manual for any vehicle-specific requirements.
- Check Engine Oil: If your vehicle has a physical dipstick, remove it, wipe it clean with a lint-free cloth or shop towel, reinsert it fully, and remove it again. Check that the oil level is between the manufacturer's specified MIN and MAX marks. If the level is low, add the oil grade and specification recommended in your owner's manual in small amounts, allowing time for the oil to settle before rechecking the level. Do not overfill. Some modern vehicles use an electronic oil-level measurement system instead of a dipstick; these systems may require specific engine temperature, parking conditions, or a waiting period, so follow the manufacturer's procedure displayed in the owner's manual or vehicle information system.
- Check Engine Coolant: Only inspect the coolant reservoir when the engine and cooling system are completely cold. Look at the level through the translucent expansion or overflow tank and verify that it is between the marked MIN and MAX lines. Never remove a radiator or pressurized coolant-system cap while the engine is hot, because escaping coolant and steam can cause severe burns. If the level is low when the engine is cold, add the coolant specified by the vehicle manufacturer. Depending on the vehicle, this may be a premixed coolant or a specified concentrate mixed with the appropriate amount of distilled or deionized water. Do not mix incompatible coolant types.
- Inspect Brake Fluid: Locate the brake-fluid reservoir and check the level against the MIN and MAX markings without opening the cap unless the owner's manual specifically requires it. Brake fluid normally does not need frequent topping off. If the level is below MIN, has dropped noticeably, or you see signs of leakage, have the braking system inspected. Low brake fluid can be associated with brake-pad wear or a hydraulic leak, so simply adding fluid may not address the underlying problem. If the manufacturer's procedure does call for adding fluid, use only the specified brake-fluid type and avoid contaminating the reservoir.
- Top Off Windshield Washer Fluid: Locate the washer-fluid reservoir, usually identified by a windshield/wiper symbol. Add an appropriate windshield washer fluid until it reaches the indicated fill level or near the top of the reservoir neck if no fill line is provided. Avoid using plain water as a long-term substitute, particularly in climates where freezing is possible or where additional cleaning performance is needed.
Cost Breakdown:
- DIY Cost: Approximately $10–$25 for commonly needed fluid products, depending on the type, quantity, and brand.
- Professional Service: Approximately $50–$90 or more may be charged for a fluid inspection and top-off service, depending on the shop, vehicle, location, and fluids required. Some shops include basic fluid checks as part of routine maintenance.
- Potential DIY Savings: You may save some labor or service charges by performing routine checks and appropriate top-offs yourself, but actual savings vary based on the fluids required and whether professional inspection is necessary.
Important: Fluid levels that repeatedly drop should not simply be topped off. A recurring low level can indicate a leak, excessive consumption, component wear, or another mechanical problem that requires diagnosis.
Essential DIY Safety, Basic Tools, and Beginner Mistakes to Avoid
Taking on basic car maintenance is a empowering way to save money, but staying safe and doing the job right must always be your top priority. While the tasks covered in this guide require minimal mechanical experience, working around a multi-ton vehicle with hot components, under-hood moving parts, and pressurized liquid systems demands healthy respect and proper preparation. Equipping yourself with a few fundamental safety items and learning to identify common beginner pitfalls will ensure every DIY project goes smoothly without damaging your car or causing personal injury.
Essential Basic Tools & Safety Gear
You don't need a professional shop setup to handle basic routine care, but keeping these simple items in your garage makes every job cleaner and safer:
-
Protective Eyewear & Disposable Nitrile Gloves: Protects your eyes from debris or chemical splashes (like brake fluid or coolant) and keeps grease off your hands.
-
Microfiber Towels & Shop Rags: Crucial for wiping dipsticks clean, catching fluid drips, and keeping hands dry.
-
Basic Hand Tools: A flathead/Phillips screwdriver set, a pair of pliers, and an inexpensive socket wrench set will cover 90% of basic under-hood panel covers and air box clips.
-
Funnel Set: Dedicated plastic funnels prevent messy fluid spills over engine covers and exhaust manifolds.
Critical Safety Precautions
-
Never Open a Hot Coolant Reservoir: Engine coolant operates under high pressure when warm. Opening the radiator or coolant cap on a warm engine can cause boiling fluid to spray, resulting in severe burns. Always wait until the engine is completely cold to the touch.
-
Work on Flat Surfaces: Always ensure your vehicle is parked on a flat, level driveway or garage floor with the parking brake securely engaged before opening the hood.
-
Proper Liquid Disposal: Used engine oil and automotive fluids must never be poured down household drains or dumped outside. Pour used fluids into sealed containers and drop them off for free recycling at your local auto parts retailer.
Common Rookie Mistakes to Avoid
-
Over-Tightening Screws & Caps: Plastic housing covers, dipstick tubes, and air filter latches do not require brute force. Hand-tight is usually sufficient; over-tightening can crack plastic housings, creating air leaks or ruined seals.
-
Using the Wrong Fluid Specifications: Vehicles require specific fluid formulations (e.g., Synthetic 0W-20 vs. 5W-30 oil, or specific coolant chemical formulas). Always check the exact specifications stamped on your fluid caps or listed in your owner's manual before pouring.
-
Leaving Tools Under the Hood: Always do a quick visual sweep of the engine bay before shutting the hood to ensure no rags, sockets, or caps were left resting near moving belts or hot exhaust manifolds.
Conclusion
Taking your vehicle’s basic maintenance into your own hands is one of the most effective ways to lower your overall cost of car ownership while ensuring your vehicle stays safe and reliable on the road. By mastering just these three straightforward tasks replacing your engine and cabin air filters, swapping out worn windshield wiper blades, and routinely checking and topping off critical engine fluids you can easily keep hundreds of dollars in your pocket each year that would have otherwise gone toward marked-up parts and expensive dealer labor fees.
What starts as a quick 15-minute project in your driveway often turns into a newfound sense of confidence. You no longer have to feel at the mercy of repair shop upsells or anxious about what is happening beneath your vehicle's hood. Modern cars may be technologically advanced, but fundamental preventive care remains simple, accessible, and deeply rewarding for any driver willing to try.
Start with whichever task feels easiest for your current comfort level, gather the right parts for your specific make and model, and take pride in knowing you are protecting both your vehicle and your bank account. As you build experience, you will discover that routine auto care is far less intimidating than it seems and the immediate financial savings make every minute spent with a shop towel in hand well worth the effort.
Continue reading
More from Maintenance & Tips


Written by Maarukh Shahbaz
Published Aug 12, 2026 in Maintenance & Tips.