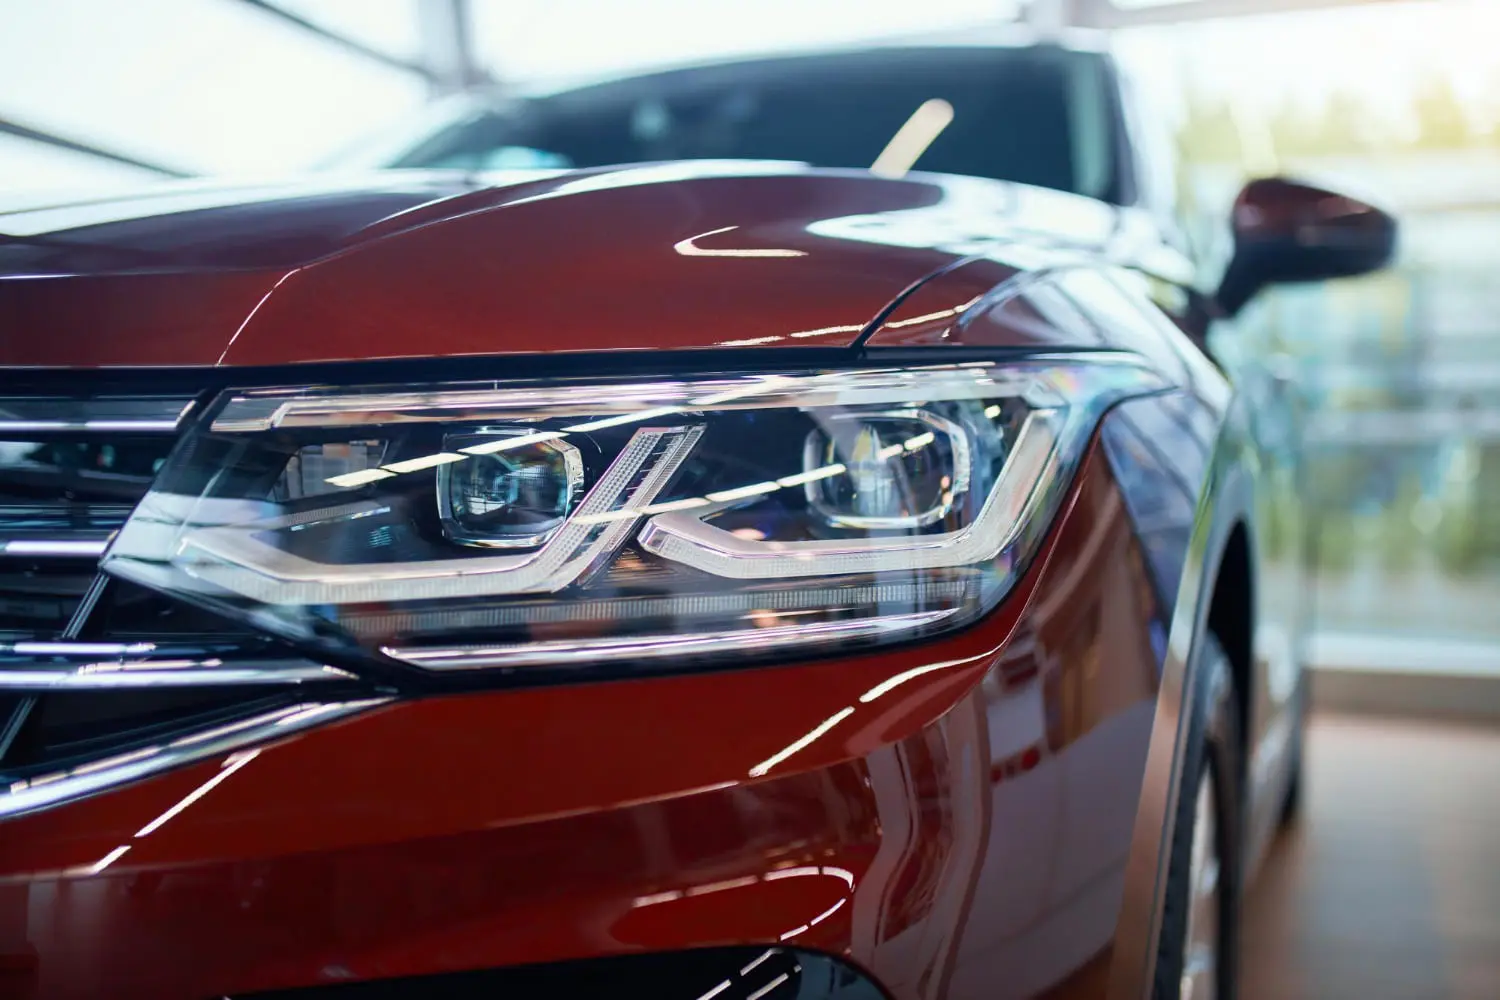
Foggy and yellow headlights are a common problem for many car owners. Over time, your car's headlights can become cloudy, dull, and yellow because of sunlight, dust, and changing weather conditions. This makes your car look older and can also reduce the brightness of your headlights at night. When the headlights are not clear, it becomes harder to see the road, especially during rain, fog, or darkness. Many drivers think they need to buy new headlights, but that is not always necessary.
The good news is that you can learn how to restore foggy headlights at home using a few simple tools and products. If your headlights have light yellowing or cloudiness, you may be able to improve their appearance in under 15 minutes. You do not need expensive machines or professional experience. In this guide, you will learn why headlights become yellow, what materials you need, how to clean them properly, and how to prevent the problem from returning. You will also understand when a quick cleaning method is enough and when your headlights need more work.
Why Do Car Headlights Become Foggy and Yellow?
Car headlights are usually made from a strong plastic called polycarbonate. This material is lightweight and can handle small impacts without breaking easily. However, the plastic can become damaged after years of exposure to sunlight, heat, dirt, and pollution. Most headlights have a protective coating that helps protect them from sunlight. When this coating starts wearing away, the plastic underneath becomes exposed and slowly turns yellow. This process is called oxidation, and it is one of the main reasons headlights lose their clear appearance.
Dirty or yellow headlights can also affect how light travels through the lens. Instead of passing clearly through the plastic, some light gets scattered by the damaged surface. This can make nighttime driving more difficult. Understanding what causes this problem can help you choose the right cleaning method and keep your headlights in better condition.
Sunlight and UV Damage
Sunlight is one of the biggest causes of yellow headlights. The ultraviolet rays from the sun slowly damage the protective coating on the plastic. After the coating becomes weak, the headlight surface begins to change color. You may first notice a light yellow shade, but the damage can become more visible over time. Cars parked outside for long periods are more likely to develop this problem.
Hot weather can make the situation worse, especially in places where vehicles receive strong sunlight throughout the year. Even if you wash your car regularly, sunlight can still damage the headlight surface. Parking in a garage or shaded area can help reduce this damage. However, once the plastic becomes oxidized, simple washing usually cannot remove the yellow layer.
Dust, Dirt, and Road Pollution
Every time you drive, your headlights come into contact with dust, road dirt, insects, and pollution. These materials collect on the surface and make the headlights look dirty. Small stones and other particles can also create tiny scratches on the plastic. Over time, these scratches can reduce the smoothness of the lens and make the headlights appear cloudy.
Regular washing can remove most dirt, but it cannot always repair the scratches or oxidation underneath. If you use a rough cloth or a dirty sponge, you may accidentally create more scratches. This is why using a clean microfiber cloth and a gentle automotive cleaner is important. Proper cleaning can help maintain the surface and make future restoration easier.
Moisture Inside the Headlights
Sometimes headlights look foggy because moisture has entered the headlight assembly. This usually happens when the seals become damaged, or the housing develops small cracks. You may notice water droplets or fog on the inside of the plastic. Unlike surface oxidation, this problem cannot be fixed by polishing the outside of the headlight.
If moisture remains inside the housing, it may affect the bulbs, electrical connections, or other internal parts. Some temporary condensation can disappear naturally, but repeated or heavy moisture should be checked. You may need to repair the seals or replace a damaged part. Before starting any restoration, make sure the cloudiness is on the outside of the lens.
What You Need to Restore Foggy Headlights at Home
You do not need a large collection of tools to clean lightly yellowed headlights. Most of the basic materials are easy to find at automotive stores or may already be available at home. The most important product is a polish designed for plastic headlights. A suitable polish can help remove light oxidation and make the lens clearer. You should also use a protective product to help slow down future yellowing.
Before starting, choose a clean and shaded place to work. Avoid working under strong sunlight because some cleaning products may dry too quickly on hot plastic. Make sure the headlights are cool and the surrounding area is clean. Preparing everything before you begin will make the process easier and help you complete the active cleaning steps within 15 minutes.
Basic Materials You Will Need
For this simple DIY headlight restoration, gather a clean microfiber cloth, mild car shampoo, water, automotive masking tape, plastic headlight polish, and a soft polishing pad. You should also have a suitable UV protectant available. These materials help you clean away dirt, polish the cloudy surface, and protect the plastic after treatment. A commercial headlight restoration kit is another convenient option because it often contains several of the required products.
Always read the instructions on the products before using them. Some polishing compounds work by hand, while others are designed for machines. Similarly, UV coatings may have special instructions for cleaning, application, and drying. Choosing products that are compatible with each other can help you achieve better results and avoid unnecessary damage.
How to Restore Foggy, Yellowed Headlights in Under 15 Minutes
Restoring lightly foggy headlights can be a simple process when you use the correct materials. The main goal is to remove dirt and mild oxidation from the plastic surface without causing new scratches. You can complete the basic cleaning and polishing steps in approximately 15 minutes if the headlights are not badly damaged. However, deeper yellowing may require sanding and a more detailed restoration process.
The following method focuses on headlights that have mild cloudiness or early signs of yellowing. It uses a plastic polishing compound rather than strong chemicals or rough abrasives. Keep in mind that applying a UV coating can take additional time because some products must dry or cure before the car can be exposed to water or driven.
Step 1: Clean the Headlights Properly
Start by washing both headlights with clean water and mild car shampoo. Use a soft microfiber cloth to gently remove dust, insects, and road dirt. Pay attention to the corners and edges because dirt often collects in these areas. Rinse away the soap and dry the surface with another clean cloth. This first step should take around two minutes.
Cleaning is important because polishing a dirty surface can create scratches. Even small particles of sand can damage the plastic when rubbed against it. Make sure the lens feels clean before moving to the next step. If there is stubborn dirt, gently wash it again instead of trying to remove it with extra pressure.
Step 2: Protect the Paint Around the Headlights
Apply automotive masking tape around the edges of each headlight. Cover the nearby painted surfaces and plastic trim so the polishing compound does not accidentally touch them. This simple step helps protect the surrounding areas while you work. It should take about two minutes if you prepare the tape in advance.
Make sure the tape stays firmly attached and does not cover the part of the headlight you want to restore. Do not use tape that leaves strong adhesive behind or could damage the paint. Once the surrounding areas are protected, you can polish the headlight more comfortably without worrying about touching nearby body panels.
Step 3: Apply the Headlight Polish
Place a small amount of headlight polishing compound on a clean microfiber cloth or soft polishing pad. Spread the product evenly over the plastic surface according to its instructions. Gently rub the headlight using small, overlapping movements. Continue polishing with steady pressure for a short period, allowing the compound to work on the cloudy areas. This step usually takes around four minutes for both headlights when the oxidation is light.
As you polish, the surface may begin to look clearer because the compound removes a small amount of damaged material. Avoid pressing too hard because unnecessary force can damage the plastic. If the yellowing is severe, repeating the same movement aggressively will not solve the problem. In that situation, you may need a complete restoration kit designed for heavy oxidation.
Step 4: Wipe Away the Polish
After polishing, take a fresh microfiber cloth and carefully remove the remaining compound. Wipe the surface until it looks clean and free from visible residue. Check both headlights from different angles to see whether the cloudiness has improved. This step should take approximately two minutes.
If you notice streaks, gently wipe the lens again according to the polish instructions. Lightly oxidized headlights may already look noticeably clearer at this stage. However, if the surface still has deep yellow patches or a rough appearance, the problem may require more than simple polishing. Avoid using stronger pressure or household chemicals to force a better result.
Step 5: Apply UV Protection
Once the polishing residue has been removed, apply a UV protectant that is suitable for polycarbonate headlights. Follow the manufacturer's directions carefully because different products require different application methods. Some protectants can be wiped onto the lens, while others are supplied as special coatings. The active application may take around three minutes.
UV protection is important because polishing alone does not stop oxidation from returning. The protective layer helps reduce damage caused by sunlight and weather exposure. Remember that some coatings need additional drying or curing time after application. Even if the cleaning process takes less than 15 minutes, you must allow the protectant to cure for the recommended period.
Step 6: Check the Final Results
After applying the protectant, remove the masking tape carefully and inspect the surrounding paint. Look for any remaining polishing residue and clean it away using an appropriate cloth. Check that the treatment appears even across both lenses. The final inspection and cleanup should take about two minutes.
Once the protective coating has fully cured, you can examine the headlights again in daylight and at night. Clearer lenses may improve the appearance of your car and allow more useful light to pass through the plastic. However, if your headlights are still dim, the problem may involve the bulbs, reflectors, or electrical system. Those problems require a different repair.
Common Mistakes and How to Keep Headlights Clear
Many people successfully clean their headlights but notice yellowing returning after some time. This often happens because the restored plastic is not properly protected from sunlight. Polishing can improve the surface, but it does not automatically replace the original factory coating. Without suitable protection, the plastic may become cloudy again.
Another common problem is using incorrect cleaning methods. Some drivers try strong chemicals, rough sponges, or excessive pressure to remove stubborn yellowing. These methods may damage the surface instead of improving it. Understanding a few common mistakes can help you protect your headlights and avoid unnecessary repair costs.
Avoid Using Harsh Cleaning Chemicals
Strong cleaning chemicals can damage plastic headlights and their protective coating. Products that are not designed for automotive lenses may cause discoloration or make the surface weaker. Some online cleaning tricks recommend household solvents, but these products can create more problems than they solve. A temporary shine does not always mean the headlight has been properly restored.
Use automotive cleaning products that clearly state they are safe for polycarbonate headlights. Follow the instructions and avoid mixing different chemicals together. If you are unsure whether a product is safe, test it only as directed by its manufacturer or choose a dedicated headlight cleaner. Gentle treatment is usually better than aggressive cleaning.
Do Not Skip UV Protection
One of the biggest mistakes during headlight restoration is forgetting UV protection. When polishing removes oxidized material, the plastic may look clear again, but sunlight can continue damaging its surface. If you leave the lens without suitable protection, yellowing may return sooner than expected.
A proper headlight protectant can help maintain the results. Its effectiveness depends on the product, weather conditions, and how often the car is exposed to sunlight. Some coatings last longer than others, so always follow the manufacturer's maintenance instructions. Regular inspection can help you notice when the protective layer needs attention.
Wash Your Headlights Regularly
Regular cleaning is one of the simplest ways to keep headlights looking clear. Dust, insects, and road pollution can build up on the surface and make the lenses appear dull. Washing them with mild car shampoo and a clean microfiber cloth helps remove these materials before they become difficult to clean.
You do not need to polish your headlights every time you wash your car. Frequent polishing can remove material unnecessarily. Instead, focus on gentle washing and protecting the lenses from damage. If possible, park in a shaded area to reduce long periods of direct sunlight.
Conclusion
Learning how to restore foggy, yellowed headlights in under 15 minutes is a useful skill for car owners who want to maintain their vehicles without spending unnecessary money. With a clean microfiber cloth, a suitable headlight polish, and proper UV protection, you may be able to improve lightly cloudy headlights at home. The process is simple and does not require advanced mechanical knowledge. However, the 15-minute estimate covers basic hands-on work, and protective coatings may require extra curing time.
The most important thing is to choose the right method for the condition of your headlights. Light oxidation may respond well to quick polishing, while severe yellowing needs a more complete restoration. Avoid harsh chemicals, clean the lenses regularly, and protect them from excessive sunlight whenever possible. With proper care, your headlights can stay clearer for longer, helping your car look better and supporting safer nighttime driving.
Continue reading
More from Maintenance & Tips

Written by Kousar Shabbir
Published Oct 20, 2026 in Maintenance & Tips.